Using Adobe xd plugins can drastically change your workflow with creating UX and UI designs.
As we have previously mentioned in this article, various plugins can help you speed up your workflow, thanks to features like filling placeholder pictures, text, generating a map image, creating patterns and so on. But how can you get them? Lets take a quick look on how to install Plugins in Adobe xd!
1. Start Adobe xd
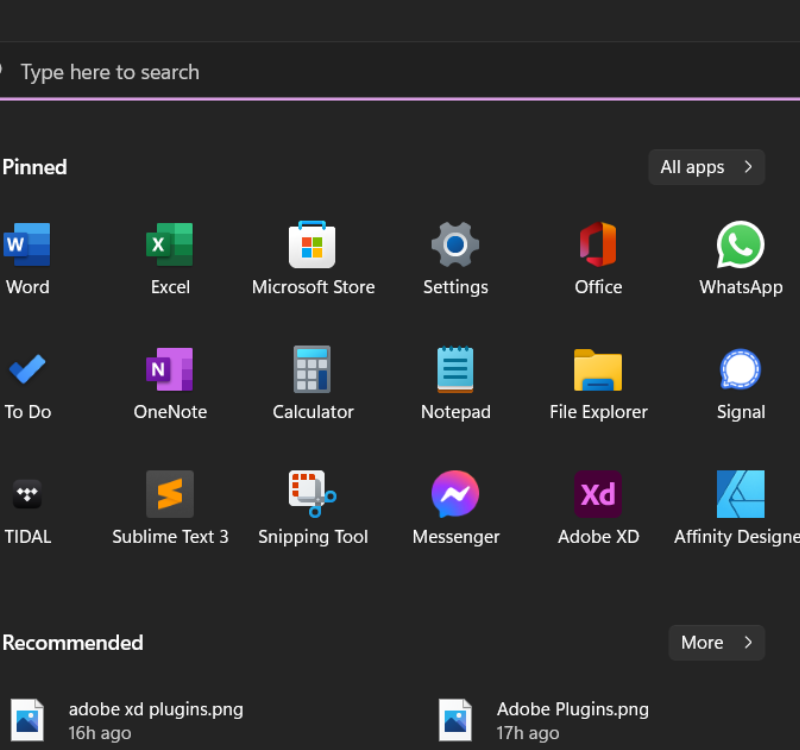
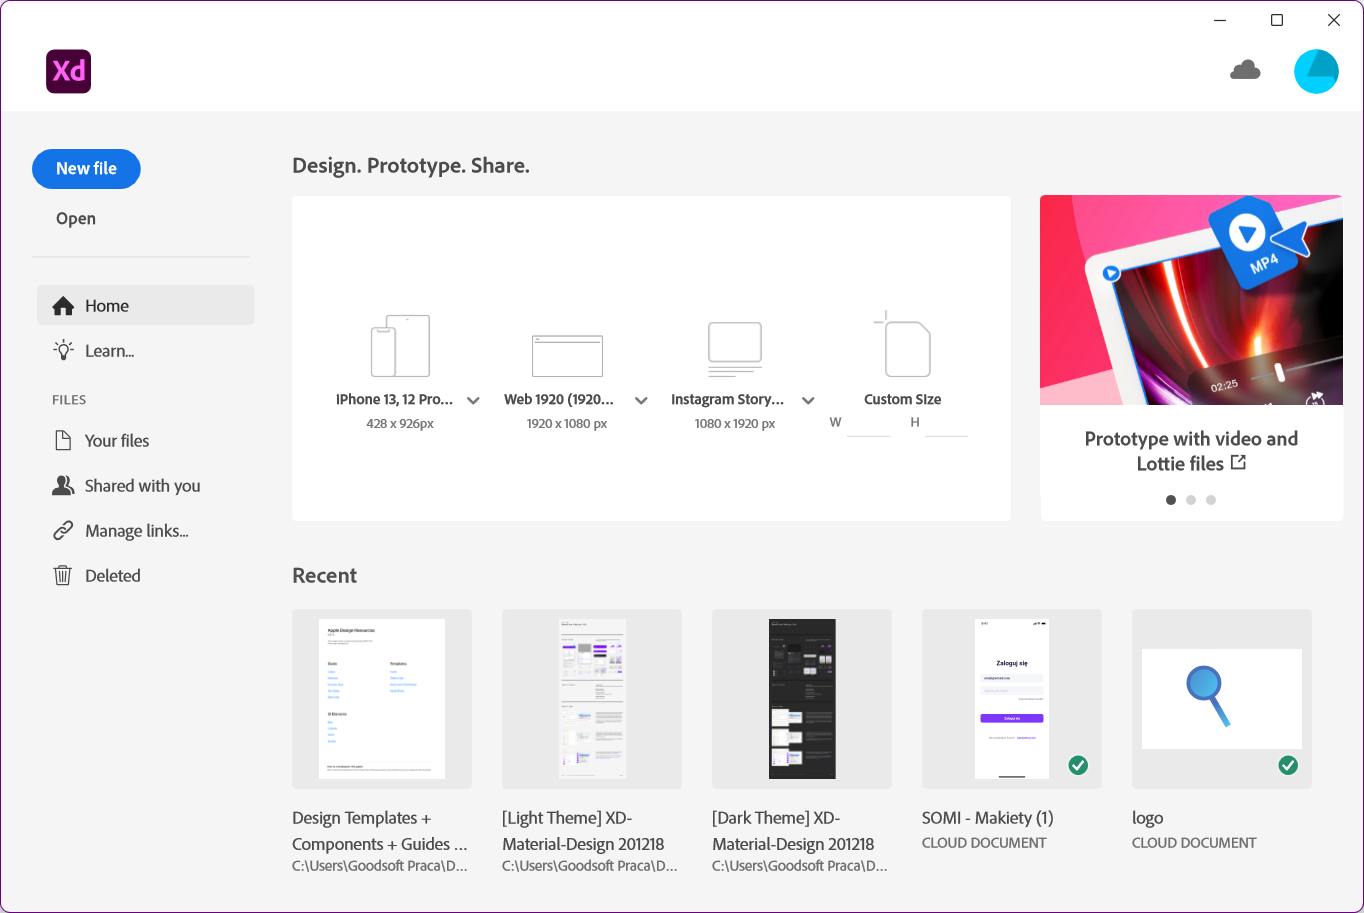
Of course, to install plugins you first need to open your Adobe xd app. This should be simple – just find the shortcut on your Windows/Mac PC and launch it.
2. Choose a file
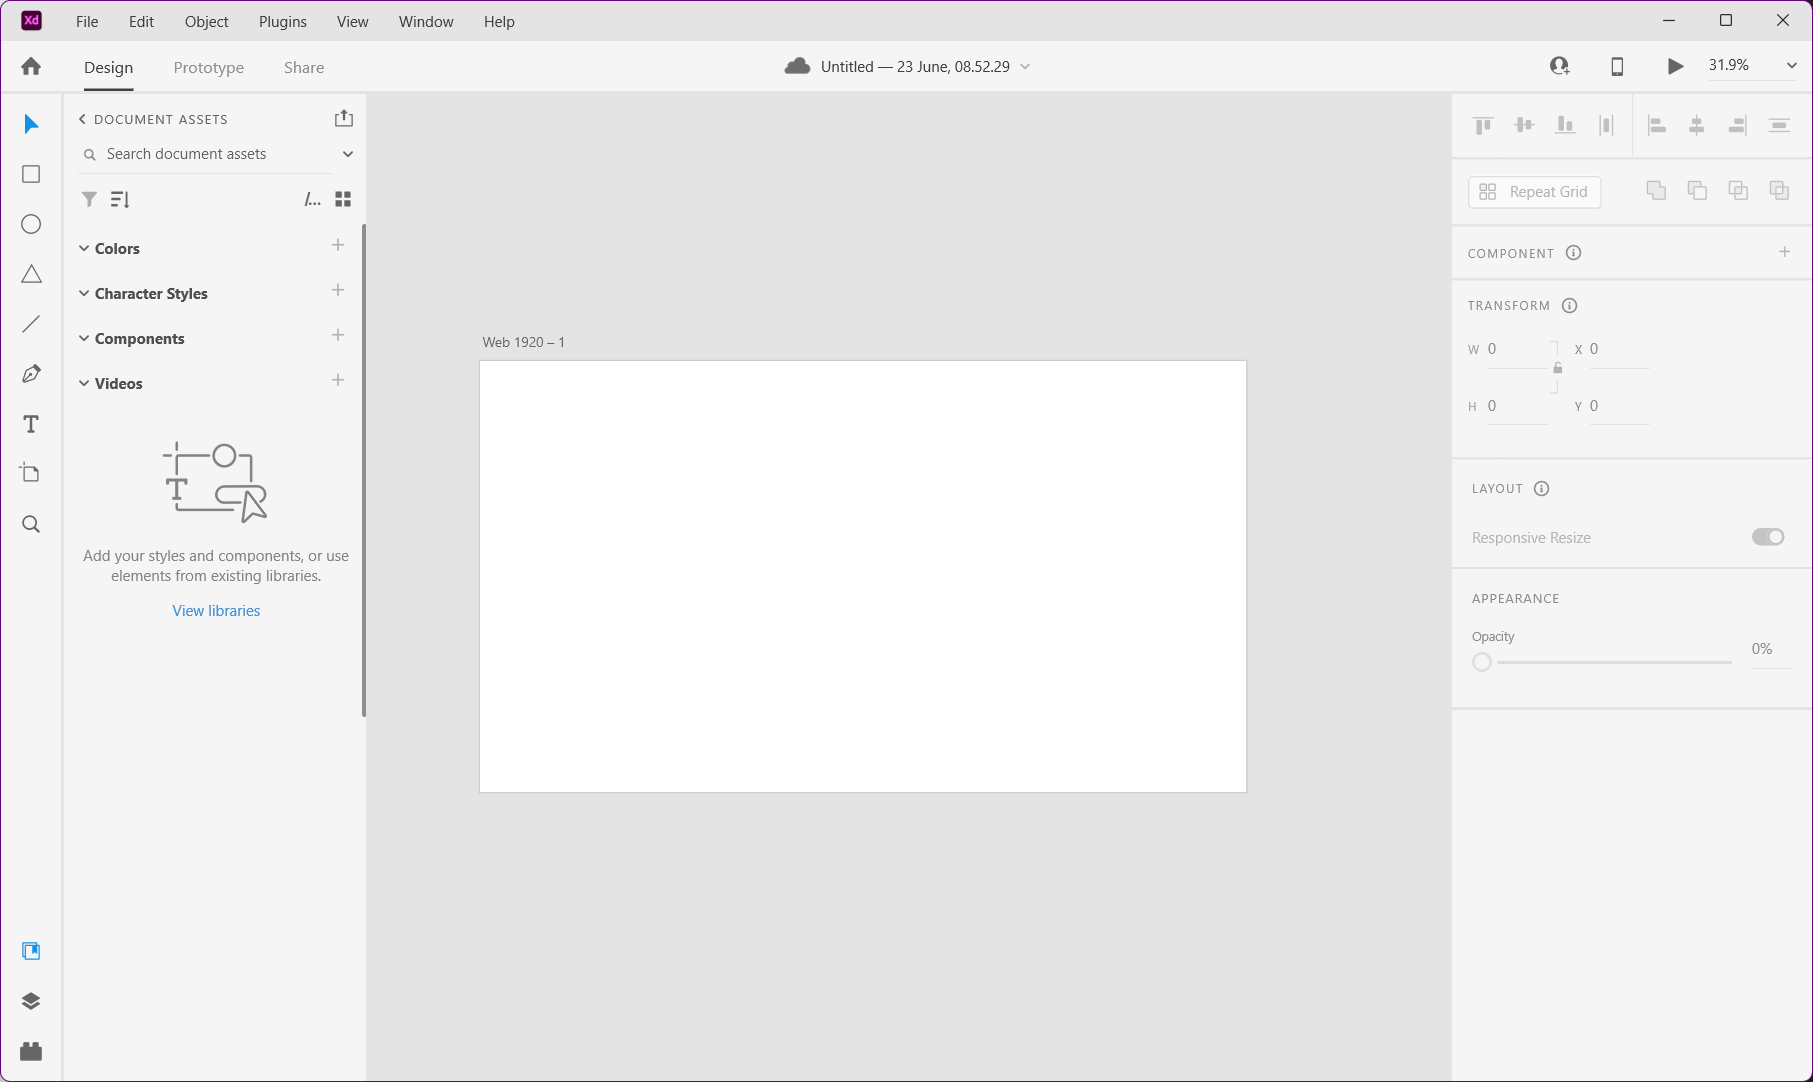
This could be a new project, or an old one. Just open any file that you desire. I will choose a new file for this tutorial.
3. Open the Plugins menu
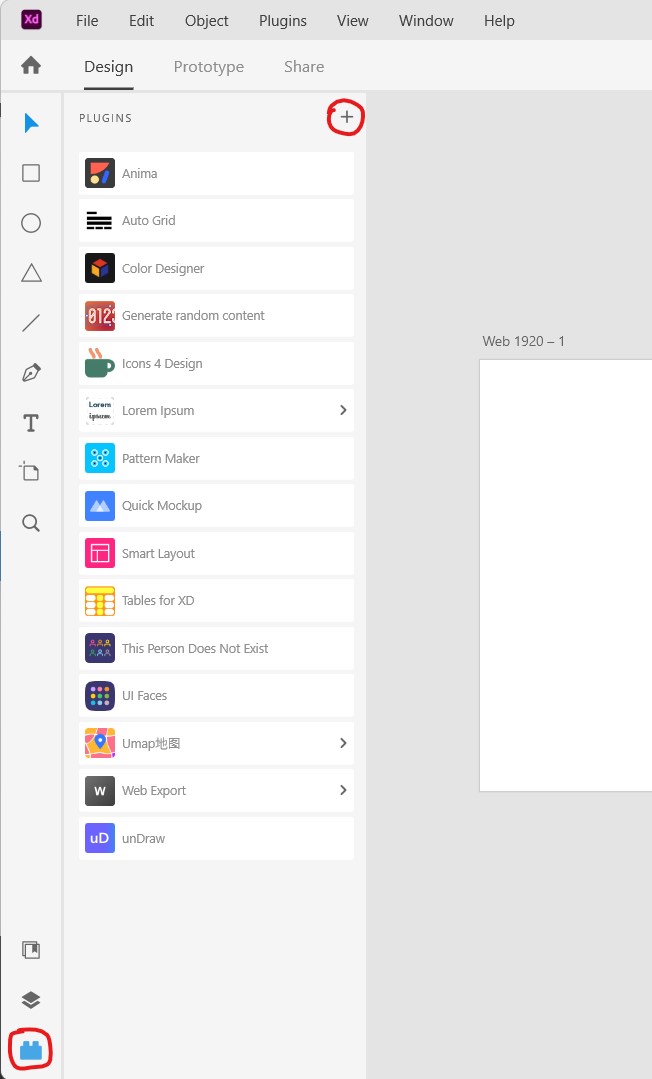
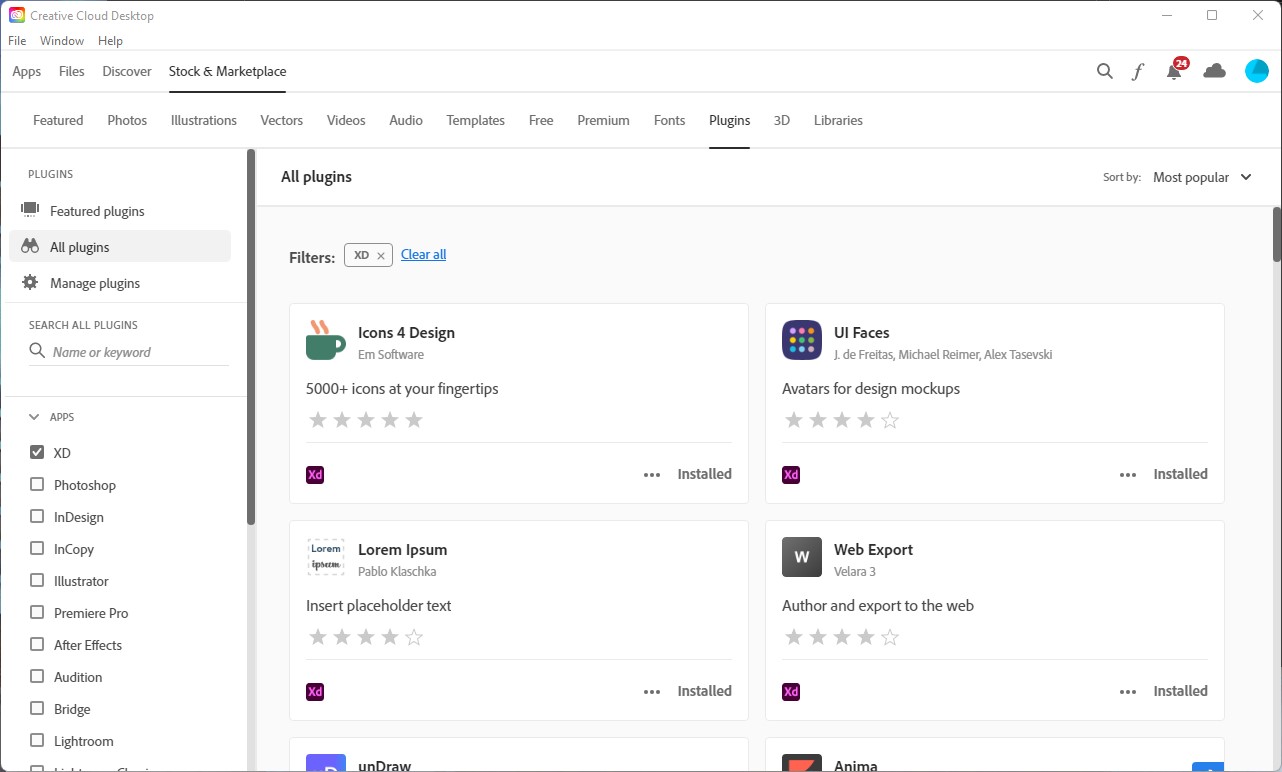
You see that icon similar to a lego brick, nn the lower left corner? Thats your plugins menu. As of now, you probably don’t have any plugins, so lets choose the “+” icon on the top of the plugins menu. This will open the Creative Cloud Marketplace where we can find our desired plugins.
4. Choose your desired plugin
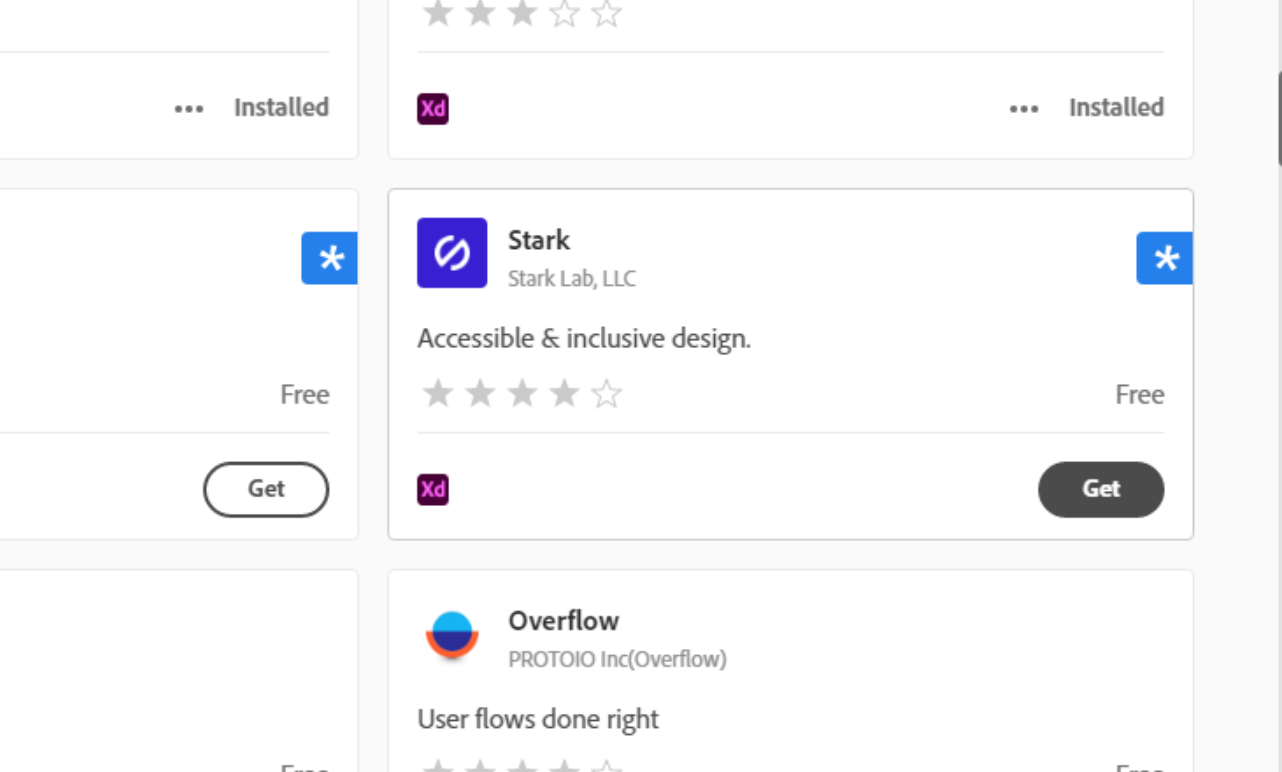
Find a plugin that suits your problem, then click the “Get” button. Don’t worry – all of them are free 🙂
5. Succes! Let’s use our plugin
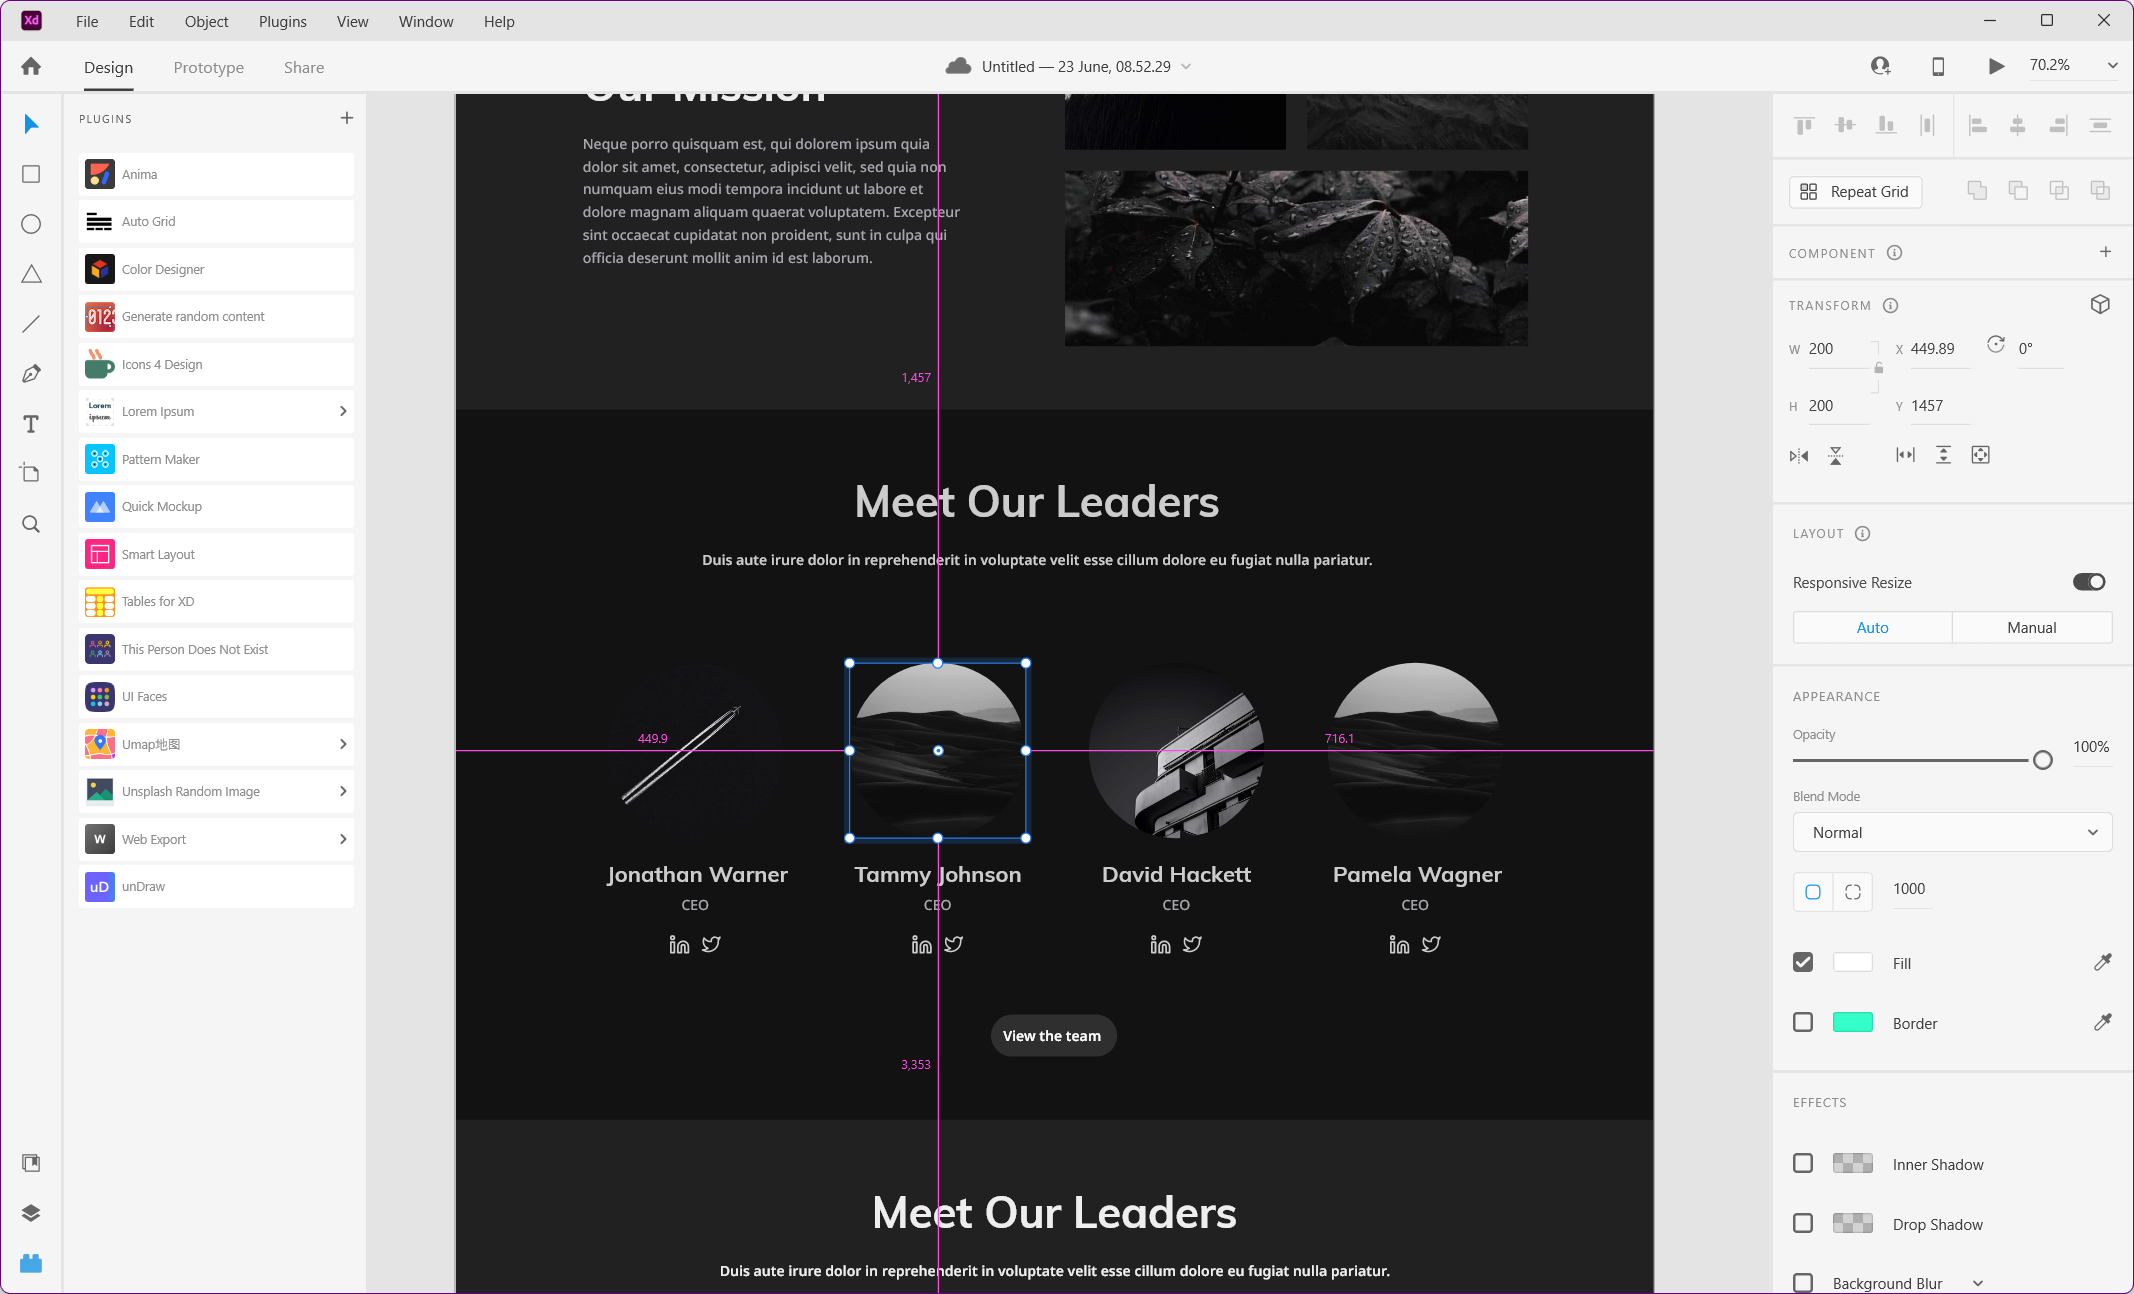
That was easy, right? Now lets go back to our project and choose an installed plugin from our list. Lets use a simple Image Placeholder plugin. Remember, each plugin is used different! But all of them are rather intuitive.
So.. Lets choose an item, that we want to replace with an image of a random face
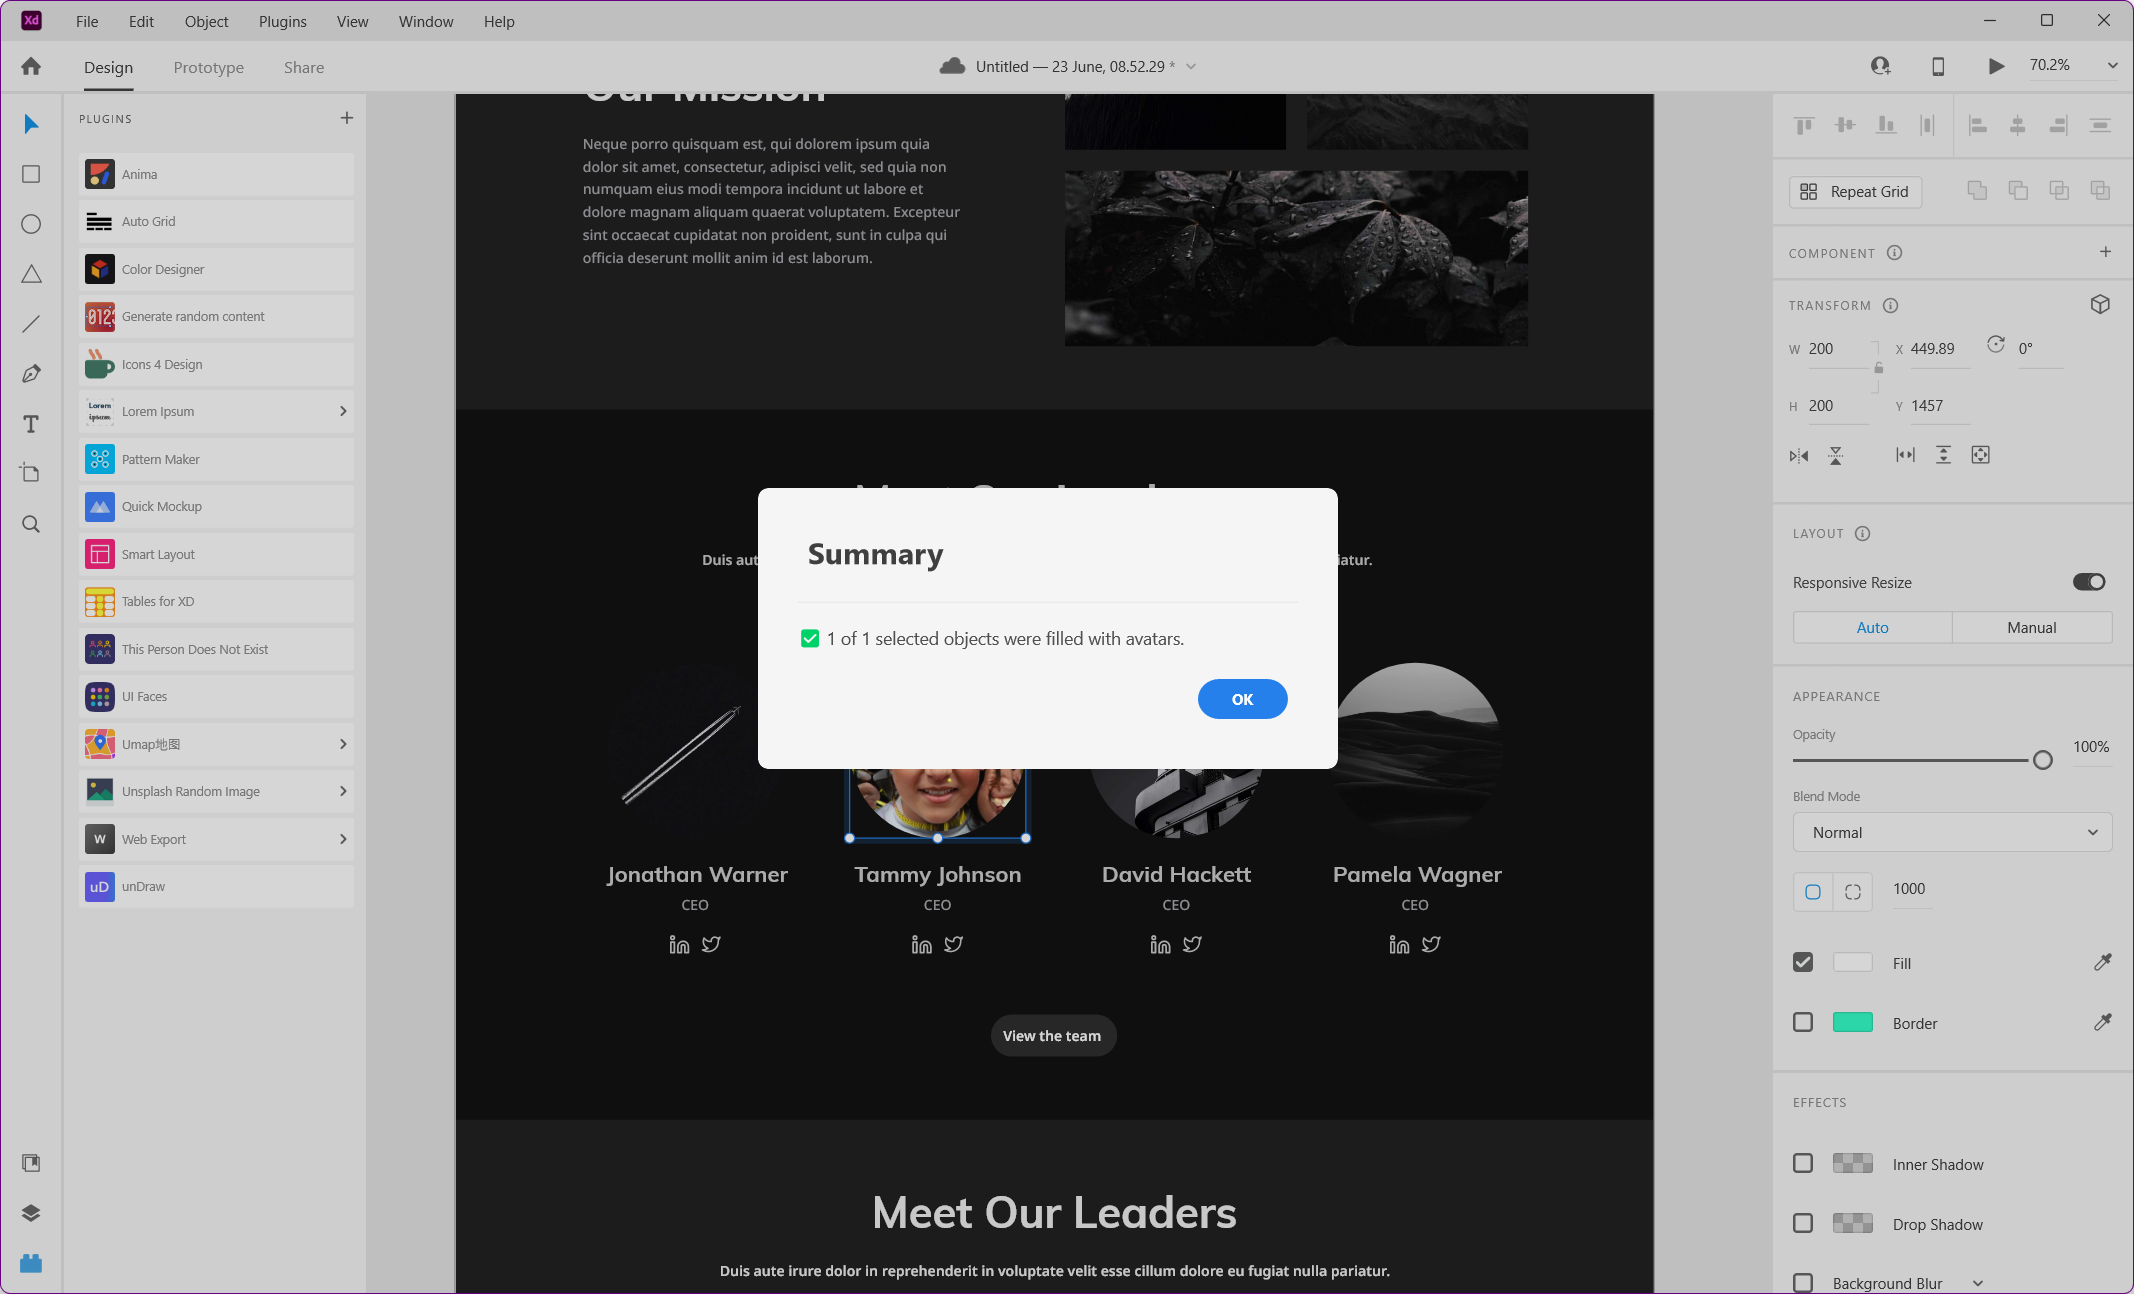
Now, lets choose the “This person does not exist” plugin. And.. We are done! Easy, right? Just one click and we have a placeholder portrait – without the need to google, buy stock images or search your drive.
Congratulations! Thats all there is to installing and using plugins,wasn’t that easy?
Lets take a look of our finished product.


