Using WordPress as a headless CMS
WordPress powers 43.2% of all websites as their CMS. Around 470 million websites are built on WordPress. WordPress dominates the CMS market with a 62.8% share. However using WordPress as a all-in-one solution may be nowadays slow and vulnarable to attacks. Increasingly, developers are choosing to separate solutions, using wordpress as a separate backend CMS.
Understanding Headless CMS and Next.js
Traditional CMS platforms like WordPress often serve both content management and frontend presentation functionalities. However, in recent years, the rise of headless CMS architecture has gained traction. In a headless CMS setup, content management and storage are decoupled from the frontend presentation layer, enabling developers to use any frontend technology they prefer.
Next.js, a React framework, is renowned for its server-side rendering (SSR), static site generation (SSG), and seamless developer experience. It allows developers to build fast, SEO-friendly, and highly interactive web applications.
Benefits of WordPress as a Headless CMS with Next.js:
- Flexibility: By decoupling the CMS from the frontend, developers gain the flexibility to use any technology stack for the frontend. This enables the creation of highly customized and tailored user experiences.
- Performance: Next.js, with its SSR and SSG capabilities, ensures fast-loading web pages, resulting in improved performance and better user engagement. By fetching data from WordPress via APIs, only necessary content is retrieved, reducing load times.
- Scalability: WordPress, known for its scalability and ease of content management, seamlessly integrates with Next.js. This combination facilitates the development of scalable web applications capable of handling increased traffic and content updates efficiently.
- SEO-Friendliness: Next.js provides built-in support for server-side rendering, which enhances search engine optimization (SEO) by delivering fully rendered HTML pages to web crawlers. This ensures that content from WordPress is easily discoverable by search engines.
Configuring WordPress as a Headless CMS
First step is to install WordPress locally with XAMPP or on a server that supports PHP and MySQL.
You can use built in RestAPI or GraphQL to communicate with Headless WP. We will use the second solution, which provides better performance in this case. And performance is, after all, one of the main reasons to consider using the headless version of WordPress.
To access GraphQL we need to install WPGraphQL plugin
- Go to Plugins -> Add plugin and search for “WPGraphQL” from WPGraphQL
- Click “Install”
- After installing click “Activate”
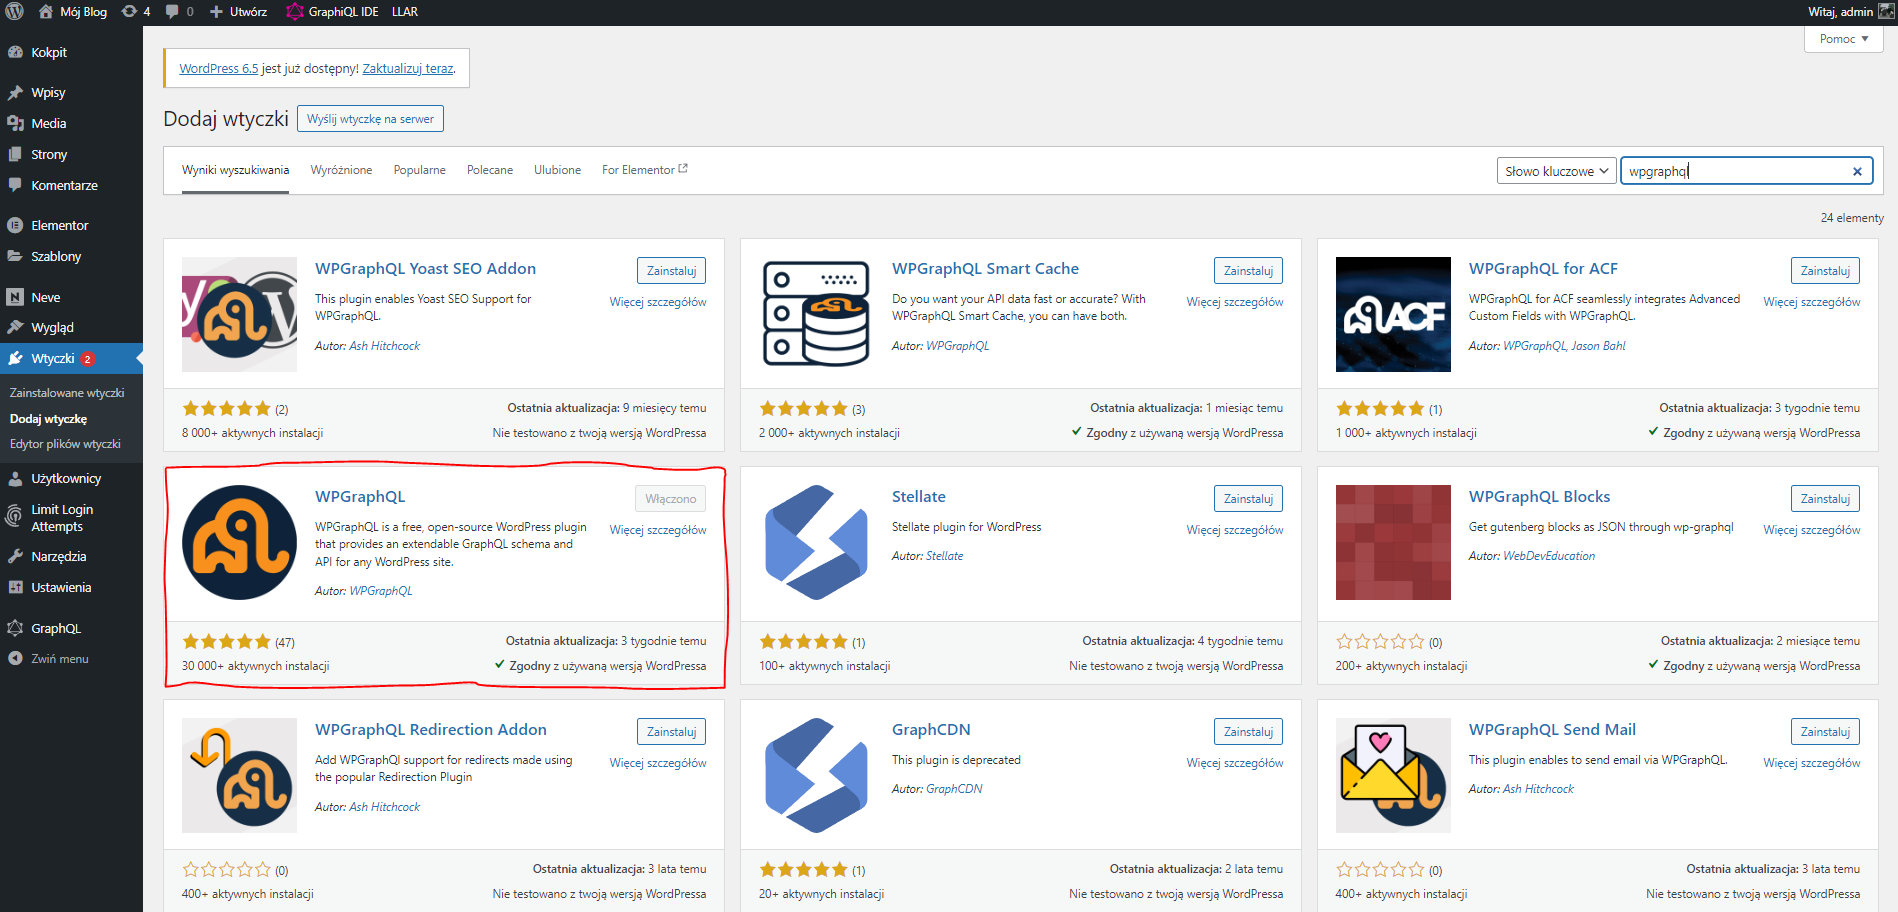
By default graphQL endpoint is /graphql for example https://goodsoft.pl/graphql
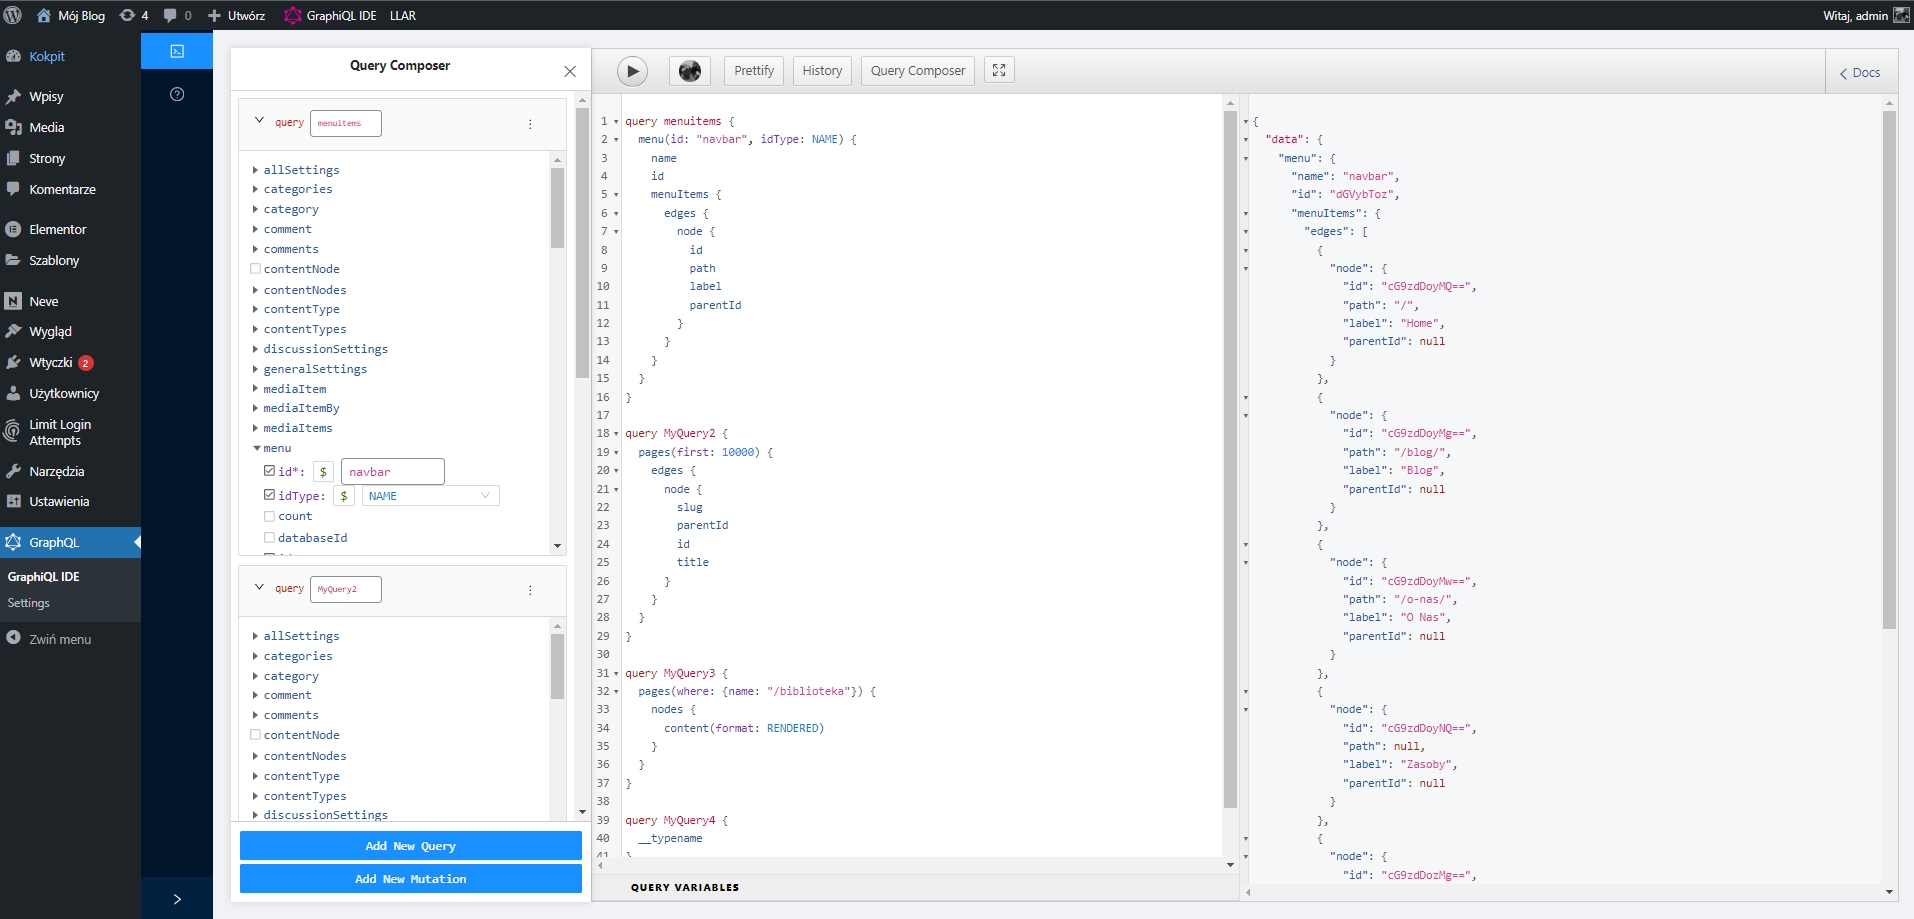
Creating queries in GraphQL IDE
Using the GraphiQL IDE tool, we can now test if our content is available by creating the appropriate GraphQL query. GraphiQL is a wizard with which we can easily create and test GraphQL queries. All we have to do is select the data we are interested. On the left we can manually select data we want to retrieve from Query Composer, in middle section we can preview what data is selected and on the right we have result from that query.
Creating and configuring Next.js project.
We can use cms-wordpress starter made for integrating WordPress CMS in Next.js
npx create-next-app --example cms-wordpress cms-wordpress-appIn the root directory, copy the .env.local.example to a new .env.local file and set the WORDPRESS_API_URL to your GraphQL API.
Install dependencies npm install and run nextjs server npm run dev
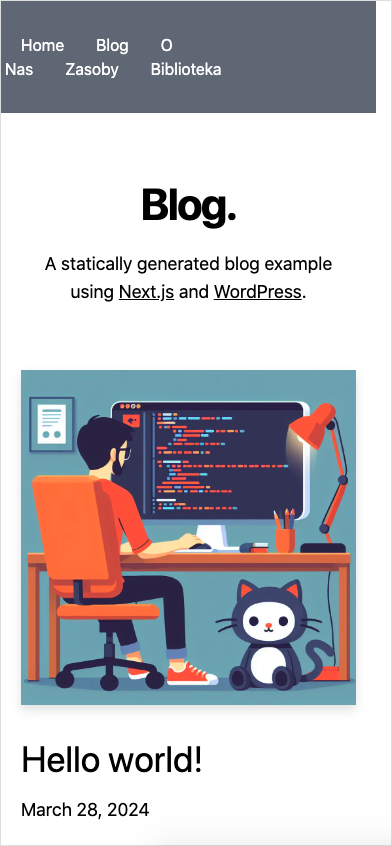
You can now view the local version of your app at http://localhost:3000. The blog post content on your home page is sourced from your WordPress backend.
Adding queries and fetching data
In /lib/api.ts file we can start creating our queries to WordPress Headless CMS
We begin with adding Fetch API function.
async function fetchAPI(query = "", { variables }: Record<string, any> = {}) {
  const headers = { "Content-Type": "application/json" };

  if (process.env.WORDPRESS_AUTH_REFRESH_TOKEN) {
    headers[
      "Authorization"
    ] = `Bearer ${process.env.WORDPRESS_AUTH_REFRESH_TOKEN}`;
  }

  // WPGraphQL Plugin must be enabled
  const res = await fetch(API_URL, {
    headers,
    method: "POST",
    body: JSON.stringify({
      query,
      variables,
    }),
  });

  const json = await res.json();
  if (json.errors) {
    console.error(json.errors);
    throw new Error("Failed to fetch API");
  }
  return json.data;
}
With help of Query Composer, we can build queries to fetch the only data we need. In this case, we are going to fetch 20 posts extracting data like; title, excerpt, slug, date featuredImage and author.
export async function getAllPostsForHome(preview) {
  const data = await fetchAPI(
    `
    query AllPosts {
      posts(first: 20, where: { orderby: { field: DATE, order: DESC } }) {
        edges {
          node {
            title
            excerpt
            slug
            date
            featuredImage {
              node {
                sourceUrl
              }
            }
            author {
              node {
                name
                firstName
                lastName
                avatar {
                  url
                }
              }
            }
          }
        }
      }
    }
  `,
    {
      variables: {
        onlyEnabled: !preview,
        preview,
      },
    },
  );

  return data?.posts;
}
The next step will be to create an asynchronous function getStaticProps. This is a special function that Next.js runs while building the application. The data retrieved with it can then be passed as props to our page component. In this way Next.js can generate all the static pages based on the externally downloaded data at the application building stage
export const getStaticProps: GetStaticProps = async ({ preview = false }) => {
  const allPosts = await getAllPostsForHome(preview);

  return {
    props: { allPosts, preview },
    revalidate: 10,
  };
};
We will now pass the props returned by the getStaticProps() function to the page component
export default function Index({ allPosts: { edges }, preview }) {
  const heroPost = edges[0]?.node;
  const morePosts = edges.slice(1);
And finish the component itself, passing data to it.
<Container>
        <Intro />
        {heroPost && (
          <HeroPost
            title={heroPost.title}
            coverImage={heroPost.featuredImage}
            date={heroPost.date}
            author={heroPost.author}
            slug={heroPost.slug}
            excerpt={heroPost.excerpt}
          />
        )}
        {morePosts.length > 0 && <MoreStories posts={morePosts} />}
      </Container>
After running npm run dev on localhost:3000 we can access our next.js app
Done! Our component correctly displays the information downloaded from our headless WordPress instance.
This combination gives you high performance and security for static pages and a friendly and familiar environment for creating and editing content.